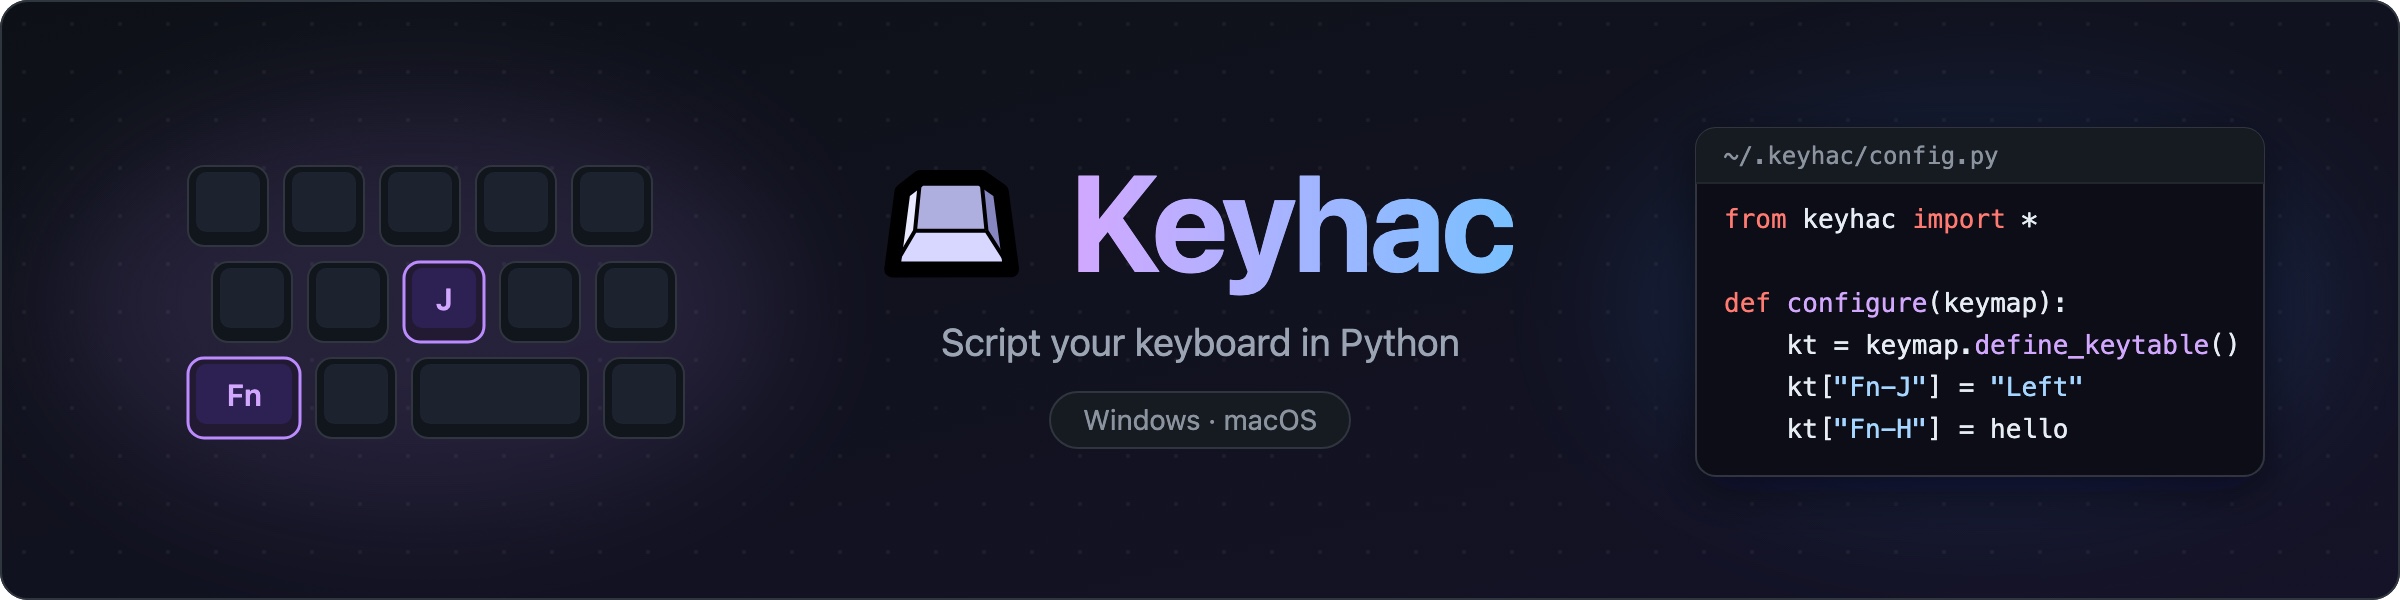
Keyhac 2
Python-scriptable keyboard customization for Windows and macOS.
Keyhac installs a system-wide keyboard hook and lets you script what your keys do in
Python. You write one file, ~/.keyhac/config.py, and it runs unchanged on both OSes —
remapping keys, binding keys to Python functions, and driving windows, applications and
the clipboard from the keyboard.
It can also write the harder scripts for you. Connect an AI assistant and it reads the screen in front of you, generates a plain-Python action against the real UI, and tests it — then the action runs on its own, with no AI in the loop.


Keyhac 2 replaces the two previous-generation products, Keyhac for Windows (1.x) and Keyhac for macOS (1.x), rebuilt as one shared codebase. Those older versions are no longer developed — if you are coming from one of them, see the migration guides in Documentation below. Keyhac 2’s UI is built on PuiKit.
Features
- Key remapping: key → key, key → key sequence, key → Python function.
- Per-application key tables: match by app name, window title, Win32 window class, or the full accessibility focus path (AX on macOS, UI Automation on Windows) — down to “only in this app’s text editor pane”.
- User modifiers: turn any key into a modifier of your own (User0–User3), invisible to applications.
- One-shot modifiers: tap a modifier alone for one action, hold it to modify.
- Multi-stroke key tables: Emacs-style prefix keys, with a balloon showing the armed prefix.
- Clipboard history: persistent history in a popup chooser — type to filter, Enter pastes into the app you came from. Plus fixed snippets and scriptable clipboard-transform tools.
- Window control: move, snap/tile, minimize, activate and launch applications, multi-monitor aware.
- Keyboard macros: record and replay keys.
- Mouse output: send clicks, wheel scrolls and pointer moves from key bindings.
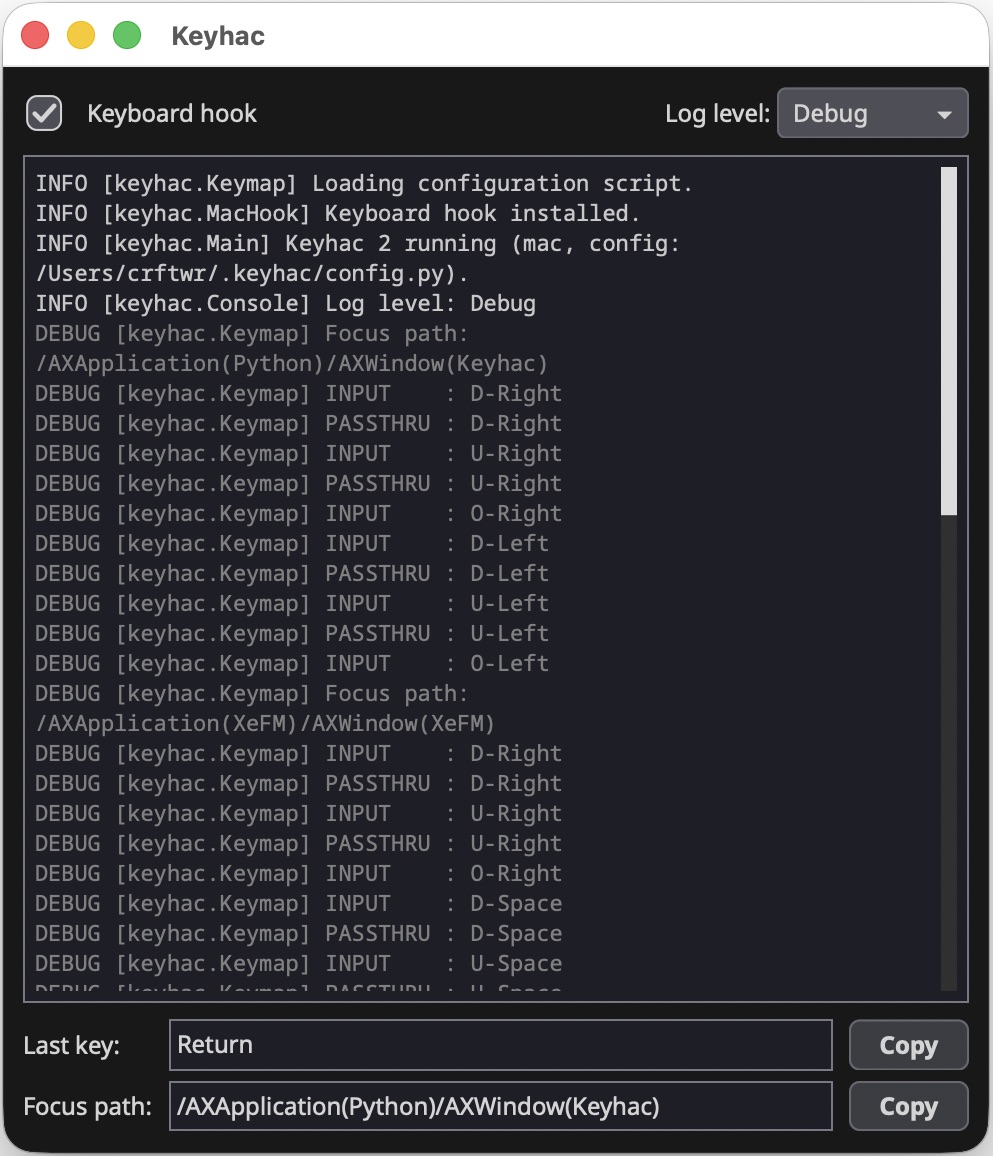
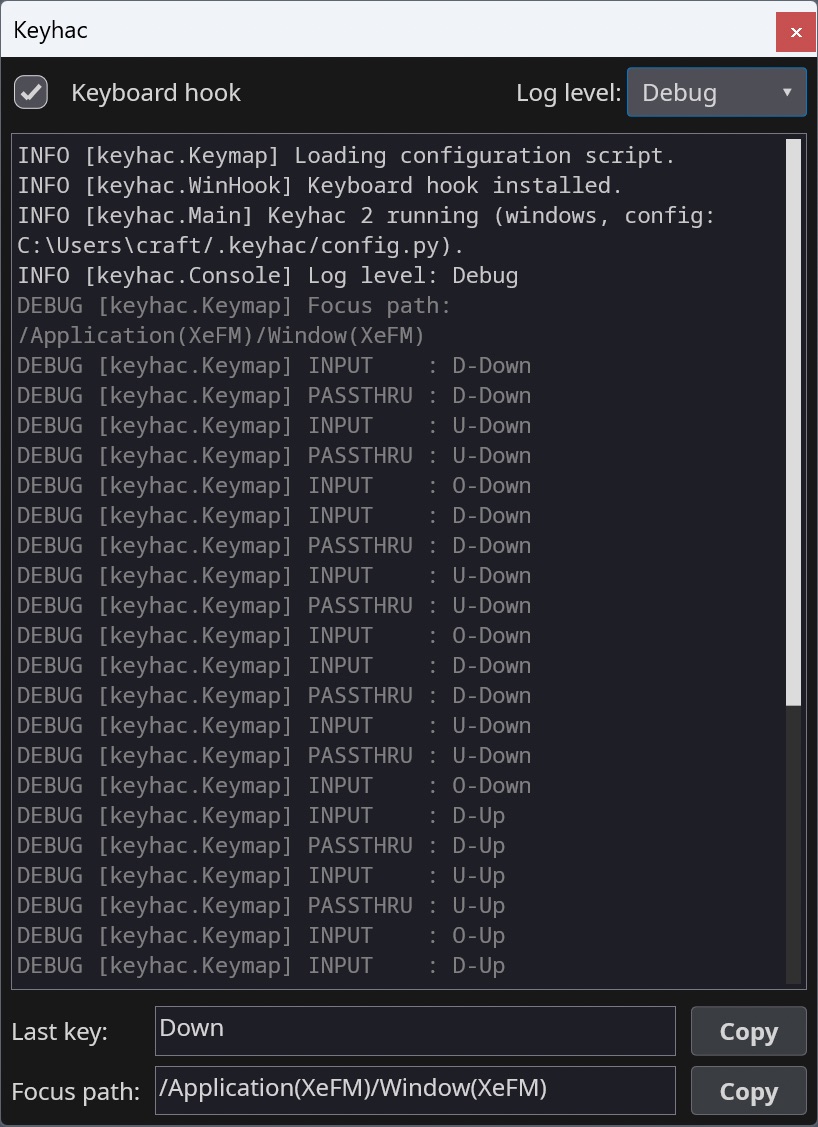
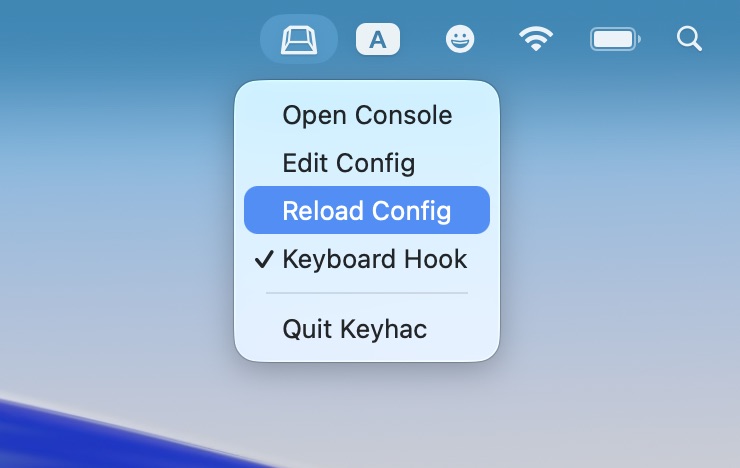
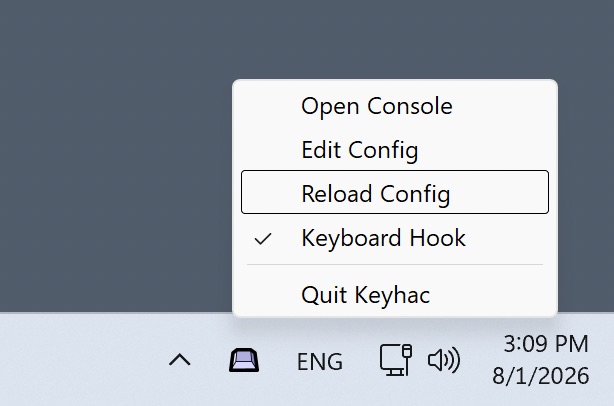
- Console window: live log, last-key and focus-path inspector — see exactly what to bind. Runs from the system tray (Windows) / menu-bar extra (macOS).
- AI-authored actions: let an AI assistant read the screen and write the automation for you, then bind it to a key — see AI integration below.
AI integration
Keyhac can be driven by an AI assistant while you write your automation, and by nothing but Python once you run it.
Connect Claude Desktop — or any MCP client — to Keyhac’s local endpoint, and it can read
the accessibility tree of the application in front of you, write an Action against the
real element names it finds there, run it, read its own traceback, and fix it. No
copy-pasting between a chat window and an editor. What you are left with is an ordinary
Python class on a key:
import translate_clipboard

def configure(keymap):
    kt = keymap.define_keytable(focus_path_pattern="*")
    kt["Fn-T"] = translate_clipboard.TranslateClipboard()
From then on it runs in milliseconds, offline, with no tokens and no model — the AI was the author, not the runtime. That matters most for applications with no API at all: walking pagination to the end, filling a form from each row of a CSV, reading tables out of an internal web app, capturing every settings screen to JSON.
It is off unless you turn it on — a checkbox in the console window. The endpoint listens on loopback only, behind a token generated at startup, and closes itself an hour after you open it.
AI integration covers setup, which clients have been tried, what it can reach, and the security model.
Screenshots
| Console (macOS) | Console (Windows) |
|---|---|
 |
 |
| Menu-bar extra (macOS) | Task tray (Windows) |
|---|---|
 |
 |
Install
- macOS 15+ — download
Keyhac-<version>-macos.dmgfrom Releases: drag Keyhac.app into Applications and launch it. Grant the Accessibility permission when prompted (required for the keyboard hook). - Windows 10/11 (x64) — install from the
Microsoft Store
(or
winget install --id 9P8H1PG6PRHH --source msstore) — automatic updates, no SmartScreen warning. Alternatively, downloadKeyhac-<version>-win64.zipfrom Releases, unzip anywhere and runKeyhac.exe.
Details, data locations and privacy notes: doc/installation.md.
Quick start
On first run Keyhac creates ~/.keyhac/config.py from a fully commented template.
Open it from the tray / menu-bar icon (“Edit Config”), edit, then “Reload Config”.
A config defines one function:
from keyhac import *

def configure(keymap):
    kt = keymap.define_keytable(focus_path_pattern="*")   # active everywhere

    kt["Fn-J"] = "Left"                        # key -> key
    kt["Fn-A"] = "Home", "Shift-End"           # key -> sequence

    def hello():                               # key -> Python function
        print("Hello from config.py")
    kt["Fn-H"] = hello

    kt["Fn-V"] = ShowClipboardHistory()        # clipboard history popup

    kt_browser = keymap.define_keytable(app="chrome|Safari")   # per-app table
    kt_browser["Fn-R"] = "Cmd-R"
The full guide is doc/configuration.md, the per-symbol reference doc/config-api.md; the shipped template (keyhac/_config.py) is a working tour of every feature.
Documentation
- Installation — install, permissions, data files, privacy.
- Configuration — the complete config.py guide.
- API reference — every class and function a config.py can reach, with its exact arguments.
- AI integration — connect an MCP client, what the endpoint reaches, and the security model.
- Action API — the surface an action uses to drive another application: finding windows, searching element trees, waiting, filling fields.
- Migrating from Keyhac for macOS — mostly drop-in.
- Migrating from Keyhac for Windows — API renamed; translation table.
- Legacy products (no longer developed, kept for reference): Keyhac for Windows 1.x, Keyhac for macOS 1.x.
- Developer documentation — architecture, platform layer, packaging, testing. Project guide for coding agents: CLAUDE.md.
Running from source
python3 -m venv .venv
.venv/bin/pip install -e ".[dev]"
.venv/bin/python -m pytest          # engine + unit tests, no permissions needed
.venv/bin/python -m keyhac          # run (macOS: needs Accessibility permission)
python -m keyhac -d enables debug logging, --no-ui runs headless (hook + engine
only), --config PATH uses an alternate config file (its data files live beside it).
Contact & Support
- GitHub Issues: Report bugs or request features
- PyPI: pypi.org/project/keyhac — released versions
- Author’s X (Twitter): @crftwr
License
MIT — see LICENSE.